Just like what happened previously with the Bosch MUM5PRO HomeProfessional Kitchen Machine MUM57830, when Bosch invited me to participate in the review of their latest Bosch MaxoMixx MSM87180 hand blender set, I was hesitant to accept the invitation. In fact I almost turn down the offer as I don't think I am able to come up with any decent recipe that requires the use of a hand blender. It was only after looking through the various features how this hand blender could also be used for preparing desserts and cakes that I decided to take up the challenge. I definitely have more confidence in my baking than cooking skill ;)
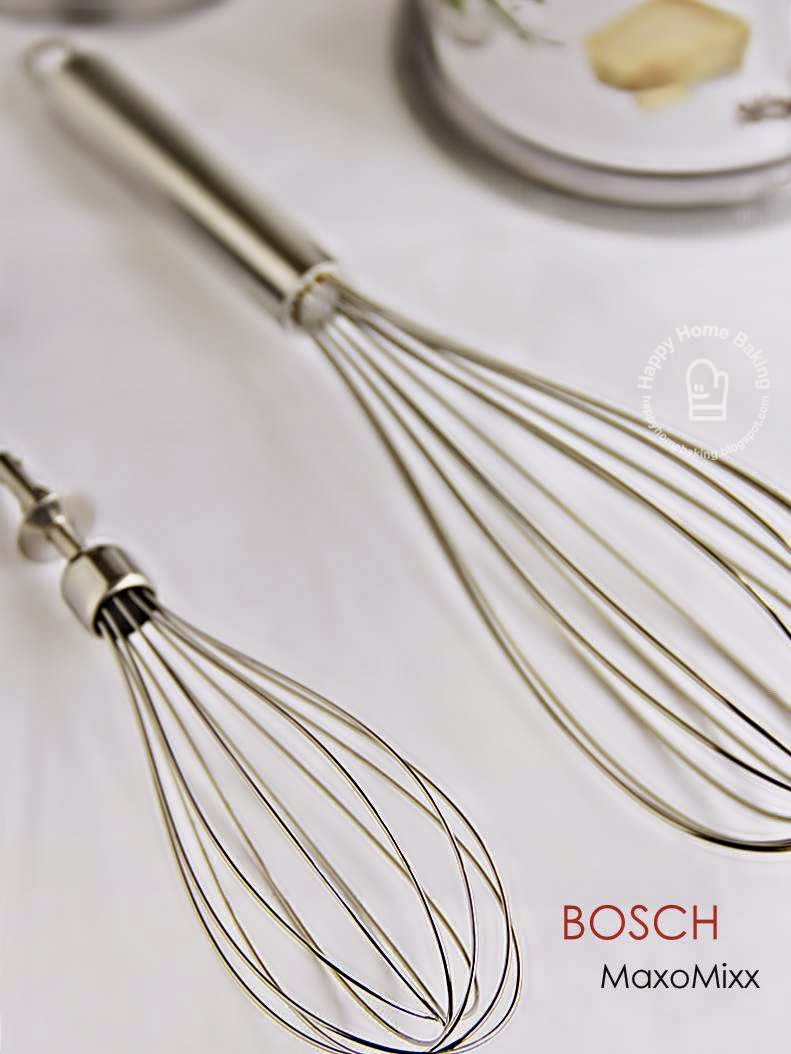
When I opened up the box of the complimentary set of the MaxoMixx hand blender, I knew I had made the right decision to participate in this review and recipes exercise. The MaxoMixx is more than a hand blender, in fact it is a multi-functional tool that can perform various operations from blending to whisking, chopping, mincing, shredding and grating. The set comes with a detachable stainless steel blender foot for puree, blend and chop ingredients, a stainless steel beating whisk for whisking egg whites and cream, two different sized chopping device with stainless steel blades, an ice-crush blade and a blending jug.
|
|
With the interchangeable and detachable attachments and accessories, the device can easily be transformed from an immersion blender to an electric whisk or a handy food processor to chop herbs, onions, meat, nuts, chocolate and cheese. These features are great not only for preparing meals but they are also applicable to the preparation process of cake and desserts making.
|
|
The blender is equipped with a 12 speed setting, 750 watt of power to allow various kinds of applications. The turbo button or pulse function for maximum performance is very useful for that extra quick blitz. The non-slip, soft touch handle and large buttons on the base unit provide comfortable and safe handling. The eject button allows ease in detaching and clicking on the attachments.
 |  |
Another safety feature is that both choppers are fitted with either non-slip base or rubber suction feet to provide extra stability. The attachments and accessories, except the base unit and gear attachments, are dishwasher safe. Both the stainless steel blender foot and whisk are easy to clean and there is no worry of stubborn food stains over time or after processing vegetables such as carrots or beetroots.
 |  |  |
The robust and high quality stainless steel blender foot allows it to be used directly in hot pots without the worry of damaging the device. It also saves the trouble of having to transfer hot soup from the pot to a stand blender and then back to the pot again. The device is easy to maneuver and there is control over how fine I wish to blend or puree the ingredients since I can stop as and when to check. I didn't take more than a minute to puree the pumpkins into a pot of velvety smooth goodness.
The length of the blender foot is long enough for most deep pans and pots. It can be placed inside the accompanying blending jug for making smoothies and puree fruits. In fact, it can also be used to mash ingredients directly in suitable cups, bowls or containers.
As the blender foot is detachable, I can store the base unit, blender foot and whisk in my kitchen drawers for easy retrieval for my daily use.
 |
| pardon my poor photography skills, the actual size of the balloon whisk is much smaller than what it appears in this picture. |
Next, I tested the balloon whisk attachment. The balloon whisk is quite small compared to my hand whisk. I have doubts whether it could provide the same results as my old and trusty electric handheld mixer.
 |  |
I used the whisk to prepare my all time favourite Fruit Pastry Cake which yields a rather thick batter. Surprisingly, the small balloon whisk could work through the thick batter with ease even though I only set it to speed 4.
 |  |
The two choppers come in handy for chopping nuts and dried fruits, grating chocolates and for turning oreo cookies into crumbs. This really helps cut down preparation time especially whenever I am in a rush or when I am on a bake-on-a-whim mood. The processed ingredients can be covered with the lids and stored until when ready to use, a very thoughtful design indeed.
 |  |
The chopper can even be used to cut cold butter into flour for making small batch of scones, cookies and pie crusts. It takes the manual work away from having to rub butter with fingertips or a fork and the worries of the butter melting away during the process.
So far the Bosch MaxoMixx proofs to be a multi-functional and very versatile tool that helps to reduce time and effort when preparing an entire meal from appetisers to desserts. I am very satisfied with the overall performance as it is able to meet my cooking and baking demands. The only down side is that for optimum use, the ice crush blade could only crush a few ice cubes at a time. The other thing that probably only affects me is that besides the base unit, the gear attachments cannot be immersed in water or even cleaned in running water, it can only be wiped with a damp cloth. (Update: I was informed by Bosh that the reason for advising consumers against washing the gear attachments is that there is food safe grease in the gear which would help to protect the usage lifespan of the product and ensure the quality of performance. This applies to many other products in the market as well.)
After using the MaxoMixx, I have completely changed my opinions of a blender or food processor as an essential kitchen appliance. I am looking forward to prepare sauces, chili pastes, potage, smoothies and milk shakes and all those dishes and desserts that I wouldn't think of dishing up without such a handy kitchen device.
Do look out for my blog updates in the coming months as I will be sharing recipes prepared using the MaxoMixx blender.
PS: 'The ergonomic MaxoMixx hand blender from Bosch has been awarded the Red Dot Award: Product Design 2014. Made up of 40 international experts, the largest-ever Red Dot jury for the 2014 awards, delivered the following appraisal on the Bosch MaxoMixx hand blender, "With its dynamic form and optimal ergonomics, this mixer meets the demands of a modern kitchen appliance." This prestigious win adds on to the growing list of Bosch household appliances that have been similarly honoured with the coveted title - the Bosch MUM5 Kitchen Machine was awarded in 2011.'
This is not a paid review but I was provided with a set of the Bosch MaxoMixx MSM87180 hand blender for my use when I participated in their review and recipes exercise. The opinions expressed here are mine and mine alone.


