Ironically, even though we passed by street vendors selling gyeran bbang on a few occasions, we didn't get to try it! We were either too full after our dinners or we were too tired and cold...all we wanted to do was to get back to our warm and cosy hotel room!
 |  |
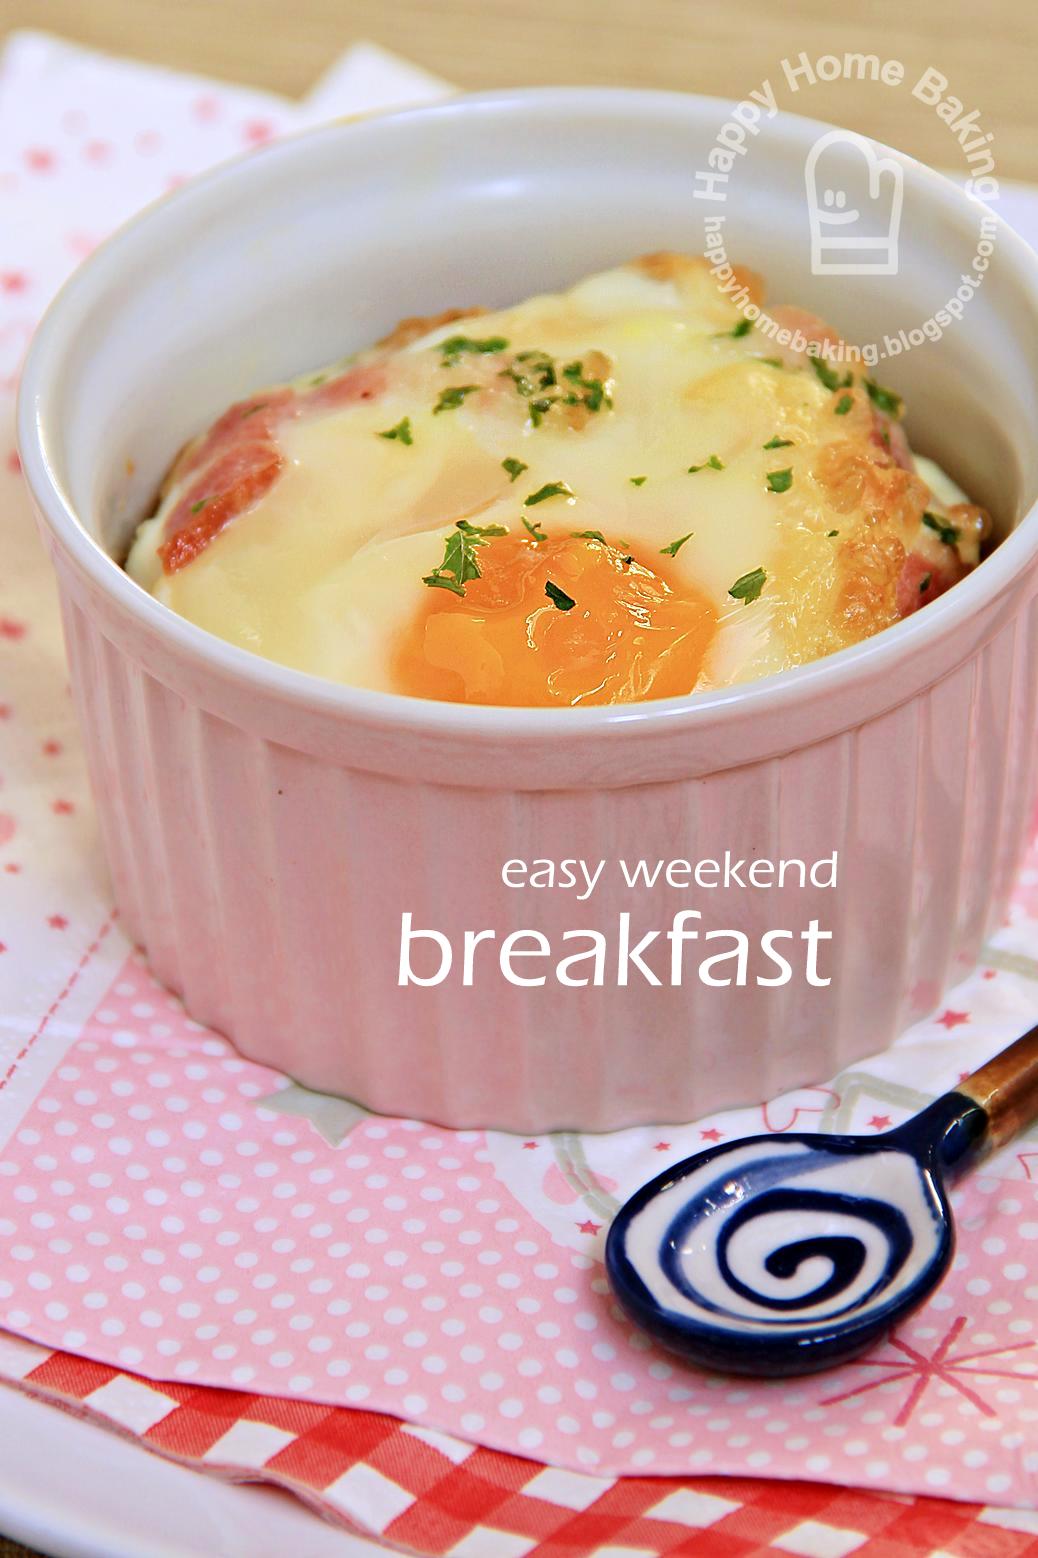 |  |
So, one fine Saturday morning, I got down to prepare these egg breads first thing in the morning. It was rather quick and easy, I took only 15 mins to get everything into the oven. Breakfast was ready in no time!
 |  |
I was pleasantly surprised at how delicious the egg bread turned out. The eggs were not overcooked as we really prefer runny egg yolks. The 'bread' texture was on the dense side, not as fluffy as muffins, but instead reminds me of pancakes. I will certainly make these again since they are so tasty and yet easy to put together!
Korean Egg Bread (Gyeran Bbang)
Ingredients:
(makes 6)
for batter:
100g plain flour
1/4 teaspoon baking powder
4 teaspoons sugar
1/4 teaspoon salt
1 large egg, lightly beaten
1/4 teaspoon vanilla extract
120ml (1/2 cup) fresh milk
for filling:
6 small eggs
1 bacon slice (chopped into small pieces)
some salt
dried parsley flakes (optional)
some ground pepper
some butter (for greasing)
Method:
- Preheat oven to 190 degC.
- Grease the inside of 6 ramekins (6 oz size ramekins) with butter, set aside.
- Place plain flour, baking powder, sugar an salt in a mixing bowl. Stir with a manual balloon whisk to combine.
- Add in eggs and vanilla extract, stir with the whisk. The mixture will come together and turn dry and lumpy.
- Add in the milk little by little, keep stirring with the whisk until the batter becomes smooth (no more lumps).
- Pour batter into the prepared ramekins, fill each ramekin to about 1/3 full (Note: do not fill more than 1/3 full as it will overflow).
- Crack a small egg into each ramekin. Top with chopped bacon, a sprinkle of salt and parsley flakes.
- Bake for 10~15 mins until the eggs are set. (Note: If you prefer runny yolks, check at around 10 to 12 mins, remove from oven when the egg whites start getting set, turning white. The eggs will continue to cook further even when removed from the oven. )
- Serve warm with freshly ground black pepper.
Recipe source: Kfoodaddict.com
20 comments:
This looks really yummy and so cute in the little ramekins. I've never heard of this before but can't wait to try it in Korea if I ever get the chance to go :)
Hi HHB, not really keen for Korean food but I'm attracted to this lovely breakfast dish. Must try soon. Thanks for sharing.
Congratulations, this post has been featured on my top posts for this week feature!!
b-e-a-u-t-y-t-u-t-o-r.blogspot.co.uk
:)
Wow, I like this very much! Must give it a try :)
Hi HHB
I happened to read about this korean egg bread on Aeri's blog too yesterday! I have been following her blog and trying out her recipes since last year. Have you tried her kimchi recipes, they are fantastic, I have already tried her cabbage kimchi recipe 7 times :)
Wow! Too pretty to be eaten! My kids favourite: runny yolk! Hope to try out soon! :)
You are right. Something special and yet easy. Easy to do for breakfast too, just whip, push into oven and go brush teeth :)
Looks very nice.
this looks delicious and easy to make. I shall try this soon ") Thanks for sharing another yummy breakfast food :)
Baking Tray, if you have the chance to go Korea do sample the various types of street food :)
Kimmy, I hope u will like this!
The beauty tutor, Thanks!! I feel so honoured :):)
Phong Hong, let me know after you tried it, hope you will like it too!
Miss B, I dont have the courage to try making kimchi! but I have followed her rabokki recipe twice ;)
MH, know you will be busy! hope you can get to try this during the one week break!
Sherlyn, even though it is quite simple to prepare, I can only make this during the weekends ;p
Elin, thanks! hope u will like it too!
so interesting to read about Korean street food!
Greetings from Germany,
Sibylle
I miss hoddeok...I think the chilly cold weather, exploring the streets of Seoul, the company of immediate family, the whole atmosphere just makes hoddeok a memorable eat. The filling was hot, it was served fresh from the pan, and eaten while huddling around with my family like penguins.
yesicanbake, we love the hoddeok too! The ones we had at Busan was filled with nuts ;)
Hi there! Can I know where to purchase the ramekins?
Hi Emma, I got them from daiso.
Hi Dear,
May I know which mode you usually use in the oven?
1) top heating with fan
2) top heating only
3) top n bottom heating
4) fan only
I always confuse which to use. When I see the burning portion way before the baking time, I hv to adjust the baking mode. I m not always right..... sigh....
Hi Fi Fi for my bosch oven, I will use top and bottom heating most of the time for baking cakes. I dont use the fan unless I am baking on two trays.
1) top heat with fan - mainly for roasting chicken
2) top heat only - so far I hardly use this mode
3) top and bottom heat - chiffon cake, chocolate cake, pound cake, bread, etc.
4) top and bottom heat with fan - for baking cookies as it usually requires two trays, or baking bread buns that will take up two trays.
for 3) always position the rack so that your cake is in the middle of the oven that is there is equal space on top and below the cake. I always use the empty pan to gauge and set the rack to the right position before I pre heat the oven.
5) bottom heat only - mainly for pizza, but since I always bake two pizzas at the same time, I still fall back on top and bottom heat with fan.
Dont fret, use your oven more often and you will be able to understand it better :):)
Wow, Dear...You are always so patience and generous in giving. I really leant a lot from you. You have a gracious heart. :)
Appreciated and Thanks!
Hello! I just made these for breakfast and they're so good :)
hi may i know what kind of eggs do you use? Quail eggs or just normal chicken eggs?
Thank you!
Hi, I used normal chicken eggs.
Post a Comment